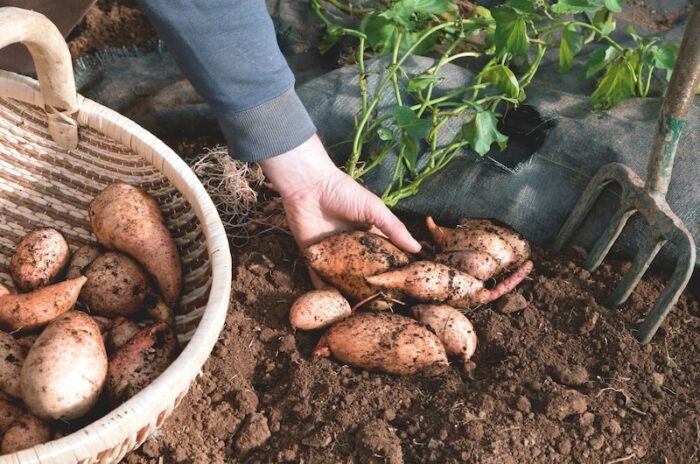
How to grow sweet potatoes
Here, experienced allotment grower Lee Senior generously shares practical tips to help you grow sweet
Here, experienced allotment grower Lee Senior generously shares practical tips to help you grow sweet

We asked experienced allotment grower, Lee Senior, for his top tips on what to grow with your vegetable plants to keep pests at bay. Here’s his expert …

We asked experienced allotment grower, Lee Senior, for his top tips on growing, planting and harvesting asparagus. Here’s his tried and tested
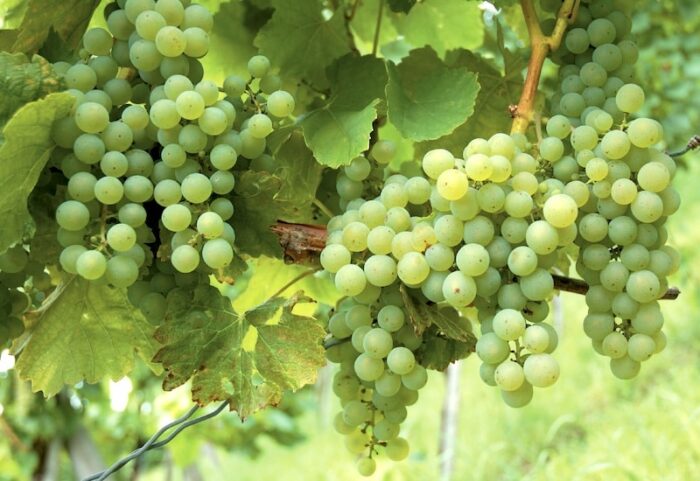
Here, our horticultural expert, Annelise Brilli shares step-by-step instructions for choosing, planting and caring for grape vine plants.
One lucky winner will receive Suttons’ brand new Grape ‘Pixie’™ Collection consisting of three potted mini grape plants - perfect for preserves, …
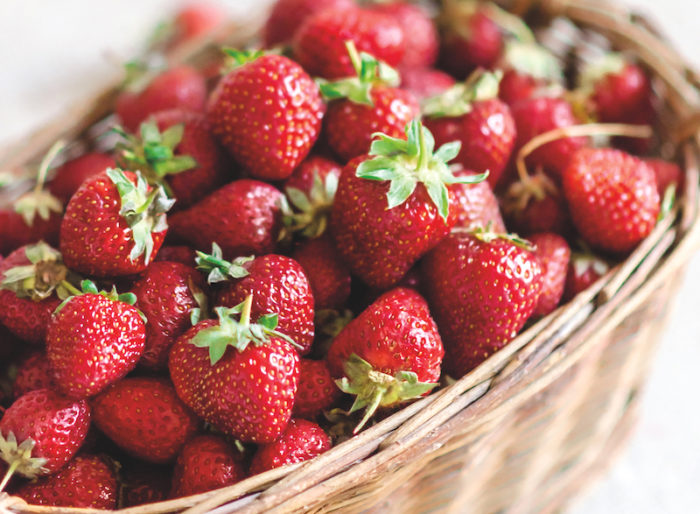
Here’s a wealth of tips from across the internet, courtesy of bloggers, YouTubers and Instagrammers who are happy to share their knowledge of soft fruit …
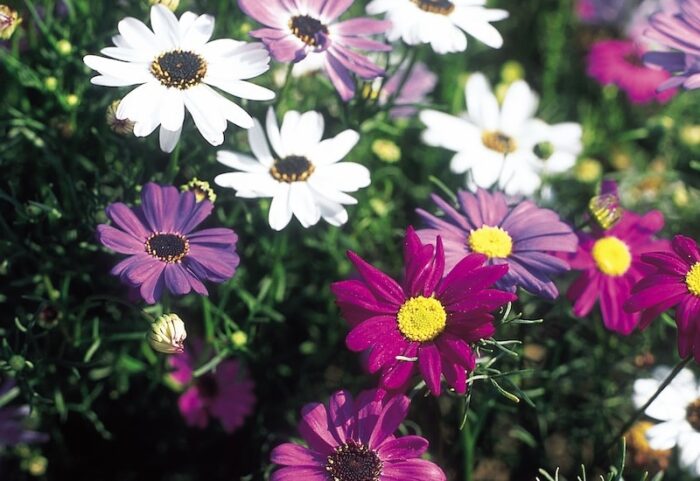
Armed with some top tips from our team, and a selection of 10 easy flower seeds to direct sow, your patio pots and garden borders will be bursting with blooms …
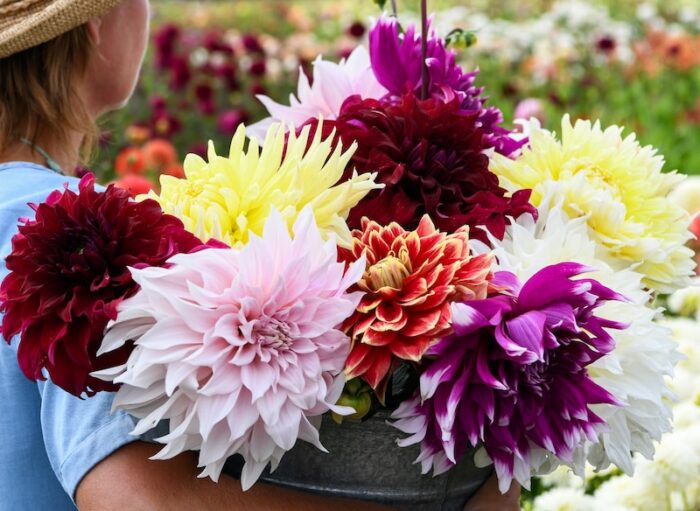
Learn the basics from these experts and you’ll soon be growing award-winning dahlias in your own garden or allotment. This article was reviewed by the …